Building a Seamless Orthomosaic from Raw Drone Imagery
Drone photography has changed how we see the world from above, but a single aerial image only shows a narrow slice of the ground. To get the full picture you need an orthomosaic: a stitched, geometrically corrected composite that behaves like a map. Getting from raw shots to a usable orthomosaic takes more than just dropping photos into a stitching app. The quality of the final product depends on how you plan the flight, process the images, and check the output for errors. Here is a practical walkthrough of the process, with what to watch at each stage.
Plan for overlap before you fly
An orthomosaic cannot exist without enough overlap between adjacent photos. For most mapping work you want a minimum of 75 percent front overlap and 60 percent side overlap. These numbers give the photogrammetry software plenty of common points to match across frames. Less overlap and the stitching will show visible seams or fail altogether. More overlap, above 85 percent front and 75 percent side, adds little benefit while increasing processing time and file sizes. Set these values in the flight app before takeoff. If the drone does not have an automated mapping mode, fly a grid pattern manually and check the overlap on the screen after each pass.
Ground sampling distance (GSD) is the other key flight parameter. GSD tells you how many centimetres of ground each pixel covers. A lower GSD gives finer detail but demands slower flight and more images. For a typical orthomosaic used in agriculture or site inspection, a GSD of 2 to 5 cm per pixel is a good balance. Flying too fast or too high will push the GSD higher than planned, and the final mosaic will look soft. Check the GSD values on the drone display if the app provides them, or calculate from the altitude and camera specs before you launch.
Check the raw imagery before you leave the field
After the flight, copy the images onto a laptop or tablet and look through them quickly. Remove any that are blurry, overexposed, or that show a large obstruction like a bird or a branch that passed in front of the lens. One bad image can throw off the alignment for a whole section of the mosaic. If you spot large gaps in coverage or a failed overlap, you can fly again immediately while the drone is still charged. It is far easier to re-fly a few lines than to patch holes in the office later.
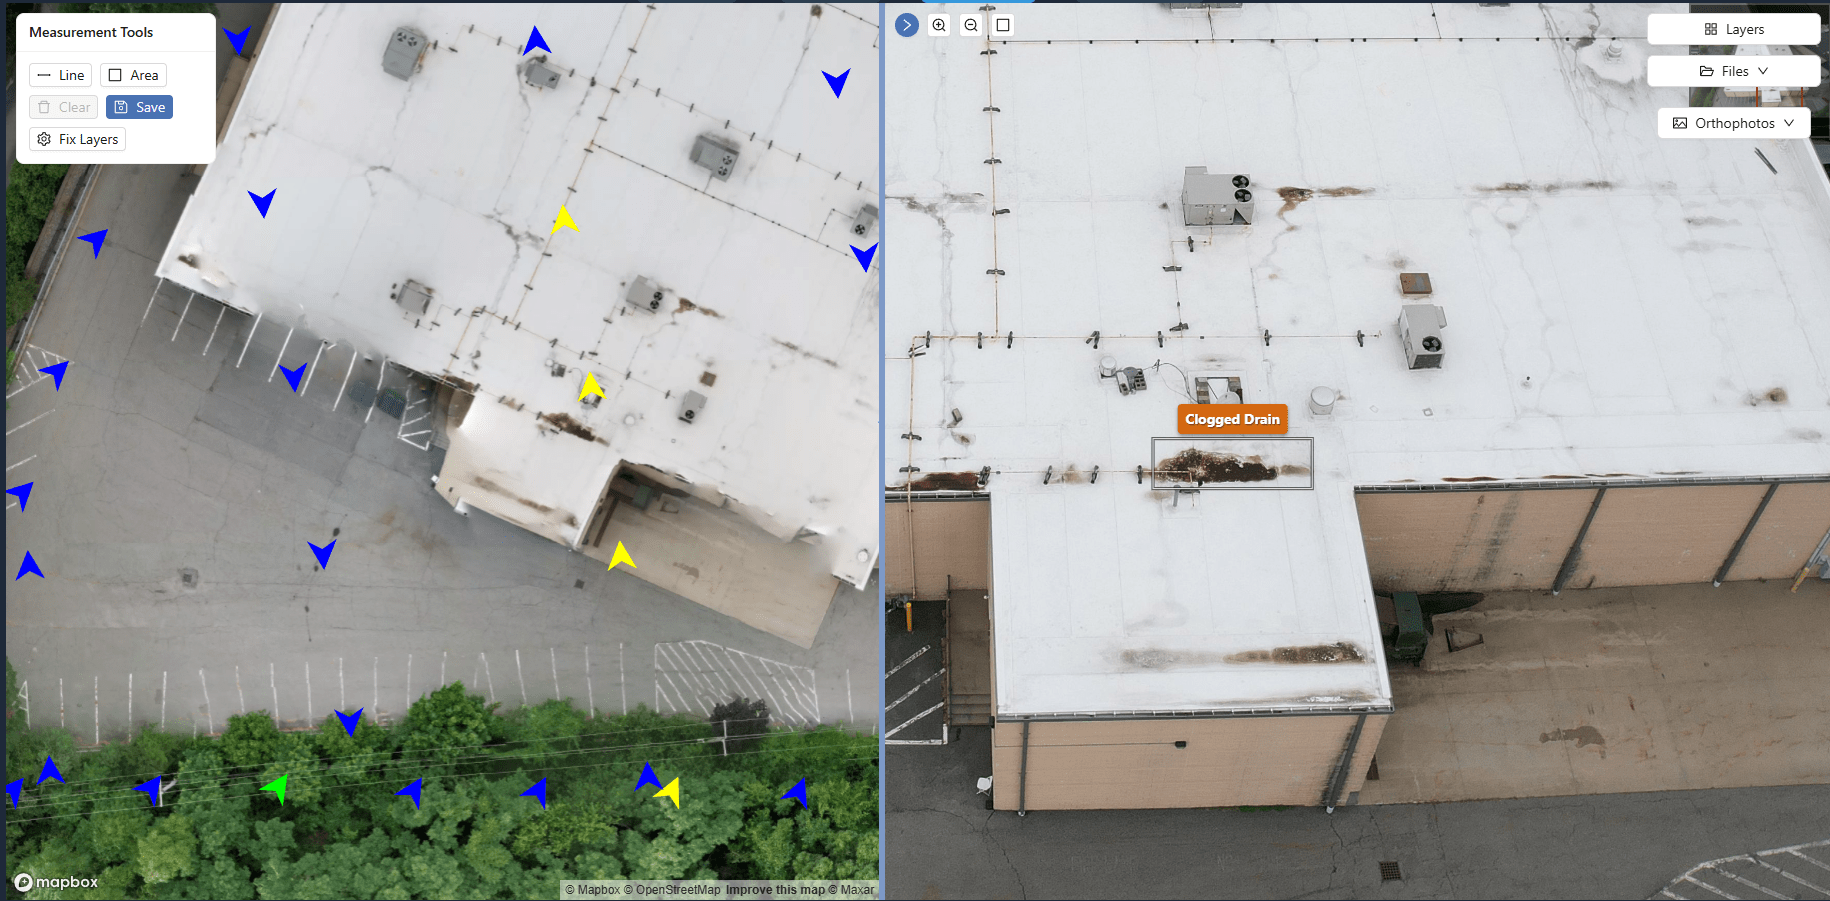
Keep the image files in a single folder with their original names. Do not rename them or renumber them by hand. The photogrammetry software uses the image metadata to reconstruct the camera position and orientation. Changing the filename or moving files between folders after the import can break the reference chain. If you need to organise images by flight line, use subfolders and let the processing tool read them recursively.
Import and let the software detect the geometry
Open your photogrammetry or orthomosaic processing tool and import the folder of images. The software will read the EXIF data and try to find the GPS coordinates and camera settings from each file. For most modern drones this happens automatically. Watch for any images flagged as having missing or weak GPS lock. Those frames will still appear, but the software has to guess their position from the overlap with neighbours, which increases the chance of distortion. If more than a few percent of the images have weak GPS, consider re-flying the area with a better satellite signal.
After the import, the tool runs an alignment step that matches features across overlapping images. This is where the bulk of the computation happens. The software looks for common points in the overlap areas and calculates how each image must be transformed to fit a single coordinate system. If the images have enough overlap and consistent lighting, this step completes without trouble. Problems come from large changes in brightness between frames, from moving objects like cars or people, or from highly repetitive surfaces such as a flat field of dry grass. In those cases the software may fail to find enough tie points and will warn you. You can then add manual tie points in the worst areas, or fly again with more overlap or with artificial ground markers.
Georeferencing and coordinate system choice
An orthomosaic is only useful if it aligns with real-world coordinates. During processing you select a coordinate system for the output. For most local projects a state plane or UTM zone is the natural choice. If you intend to overlay the orthomosaic on a global map, use WGS84. The software will transform the image data so that every pixel has a known location. Check the reported error values after georeferencing. A root-mean-square error below one GSD is good; above two GSD means the alignment is questionable and you should inspect the mosaic closely.
If you placed ground control points before the flight, you can include them now to improve absolute accuracy. Without ground control, the mosaic is still internally consistent but may be offset by several metres relative to a survey-grade map. For many applications such as crop monitoring or roof inspection, this offset does not matter because you only compare changes over time. For projects that need tight alignment with existing maps, ground control is necessary.
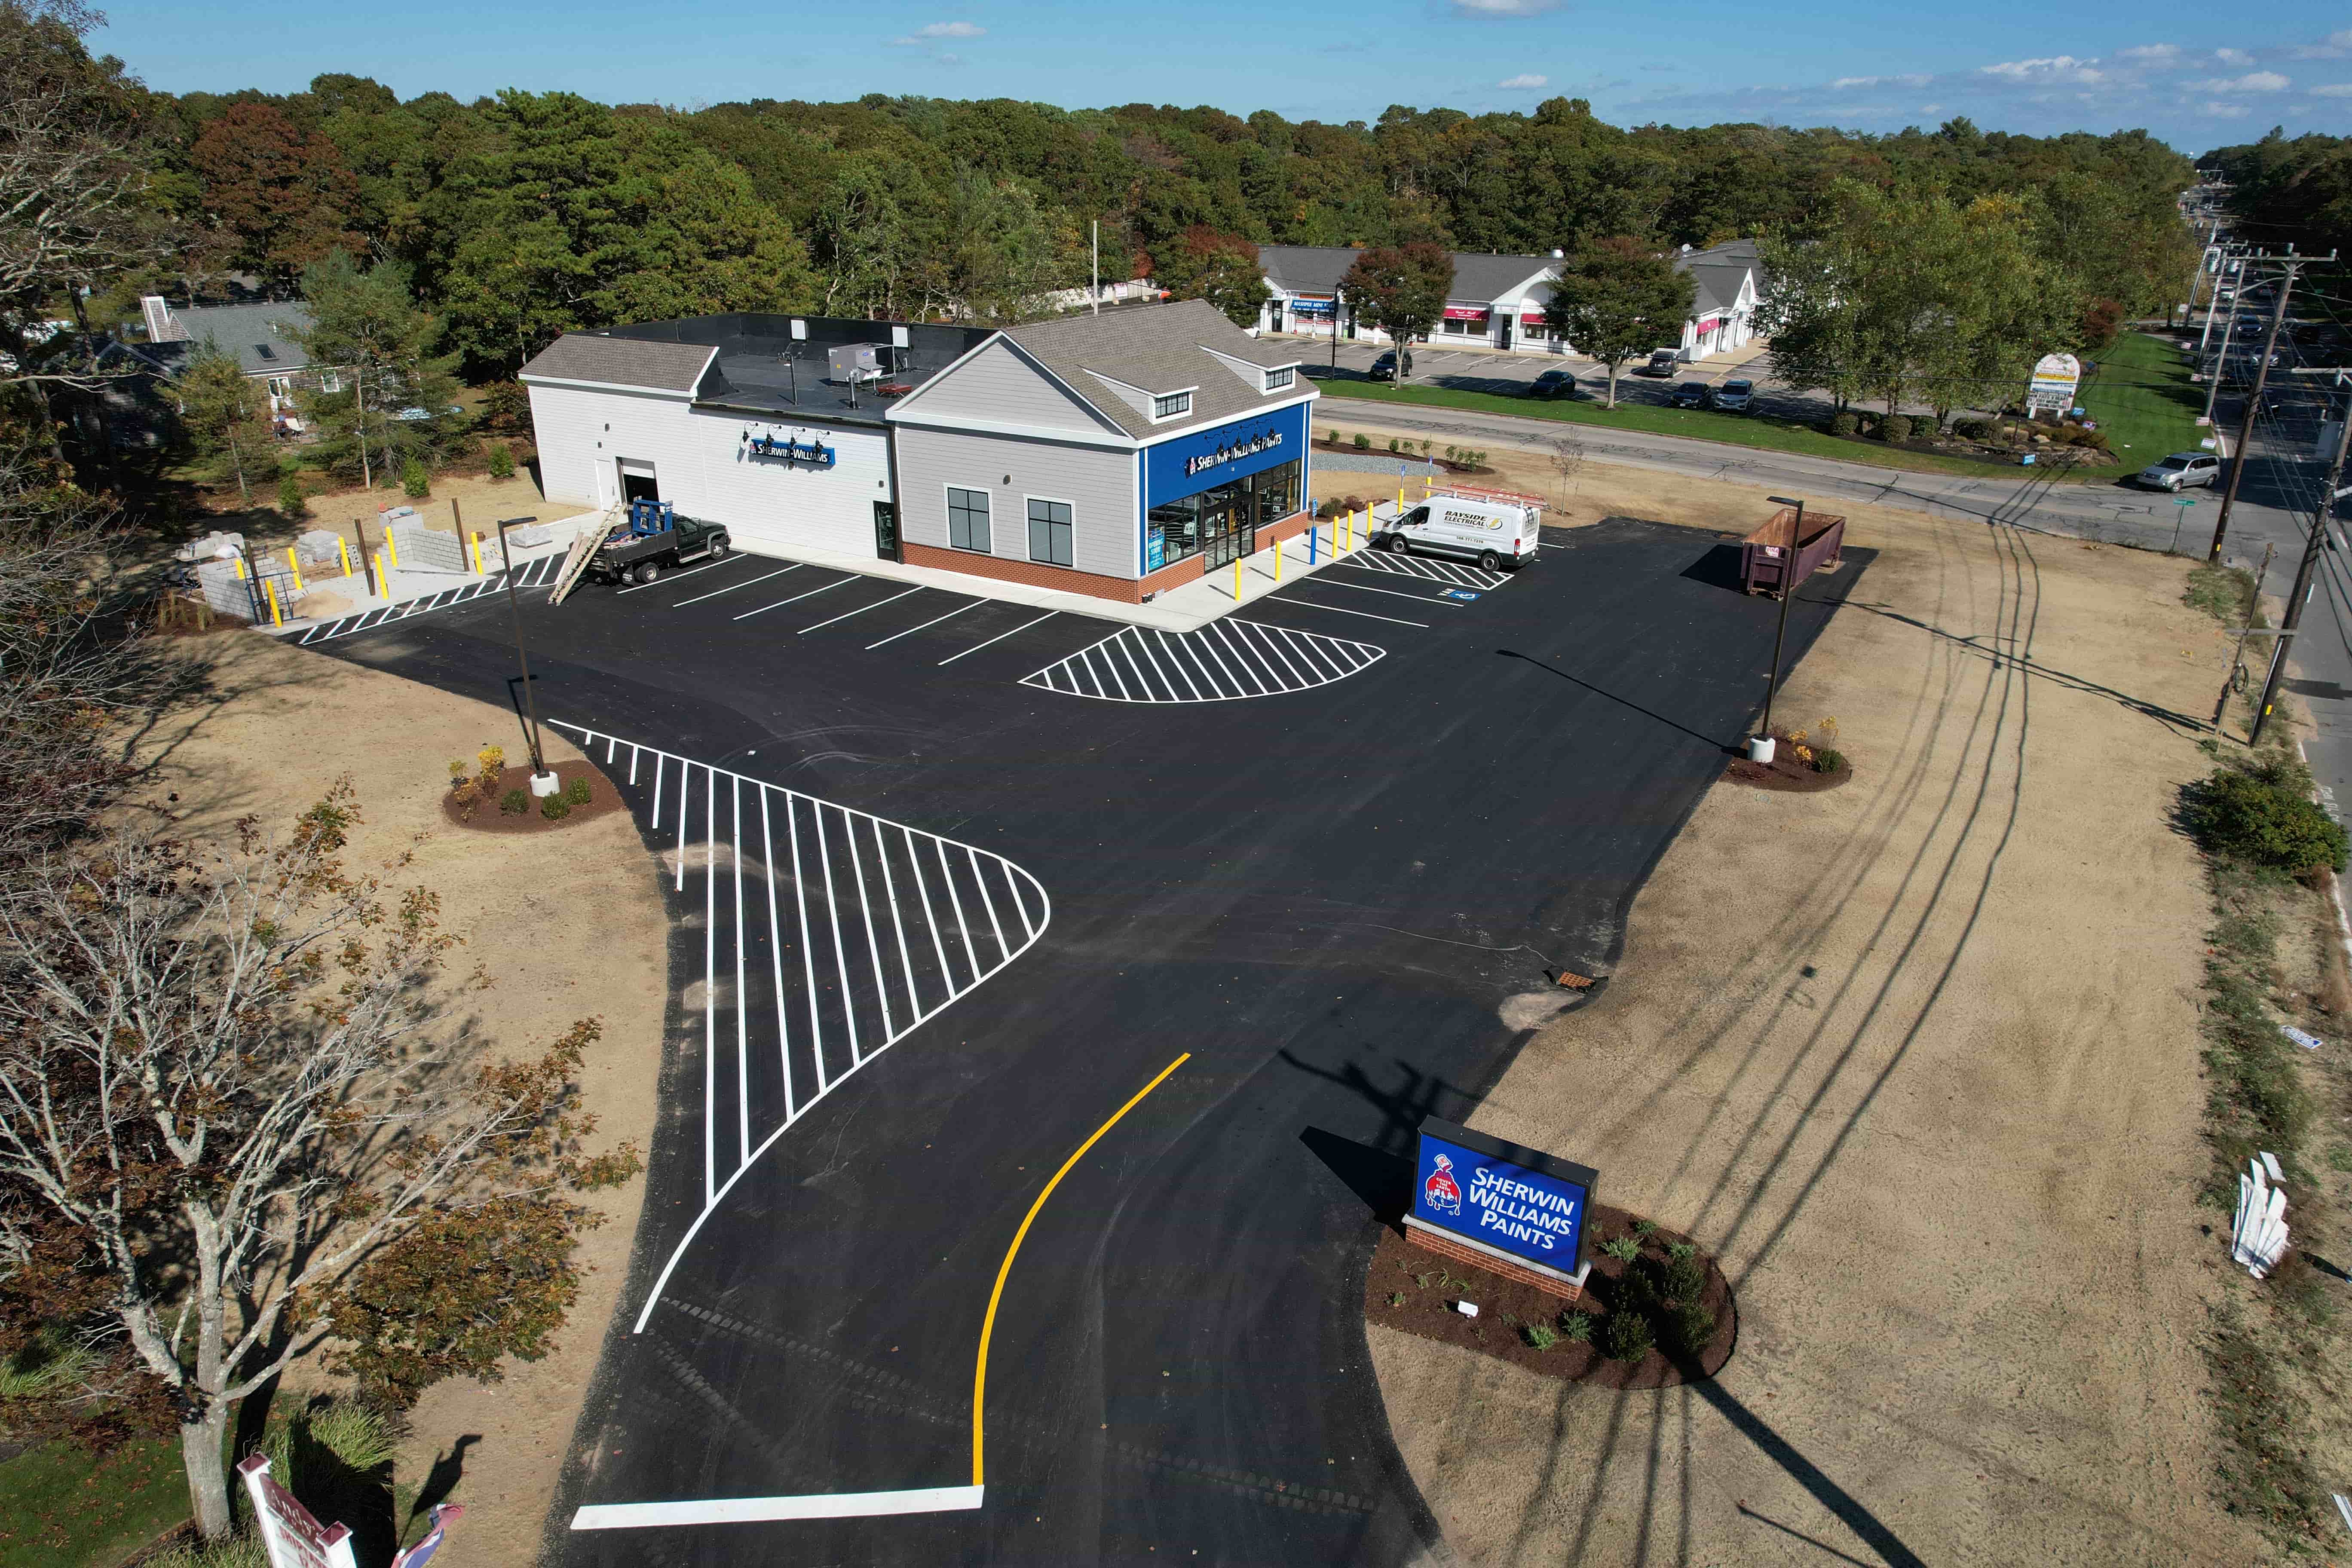
Generate the orthomosaic and review the seams
Once the alignment and georeferencing are done, the tool renders the final orthomosaic. This can take minutes or hours depending on the number of images and the resolution. The output is a single large geotiff file that you can open in any GIS or image viewer. Zoom in and pan across the whole mosaic. Look for visible seams where two images meet. A good orthomosaic blends the boundaries so well that you cannot tell where one photo ends and the next begins. If you see a line with a clear shift or a colour difference, the overlap was too low or the lighting changed between passes. You can sometimes fix a colour mismatch by adjusting the white balance of the input images and re-running, but a geometric shift means you need more overlap or better tie points.
Also check the edges of the mosaic. The outer margins often have lower overlap and may show stretching or missing areas. Crop the final product to the region where the overlap is solid. Including the stretched edges only degrades the look and adds file size without benefit.
Export in the right format and resolution
The last step is to export the orthomosaic for its intended use. A geotiff is the standard format because it preserves geographic coordinates and can be read by almost every mapping tool. For web delivery or quick sharing, a cloud-optimised geotiff or a tiled format reduces load times. Set the export resolution to match the GSD of the original images. Exporting at a higher resolution than the source data adds no real detail and bloats the file. Exporting at a lower resolution throws away information that you might need later. If you are unsure, keep the original GSD and compress the file with lossless compression.
Now you have a single, accurate orthomosaic that you can measure, annotate, and overlay with other data. The whole workflow depends on planning the flight for sufficient overlap and GSD, checking the raw imagery before you leave, and verifying the alignment and seams before you call the job done. With practice, the process becomes straightforward, and you will develop a feel for which flights will produce a clean mosaic and which need a second pass.
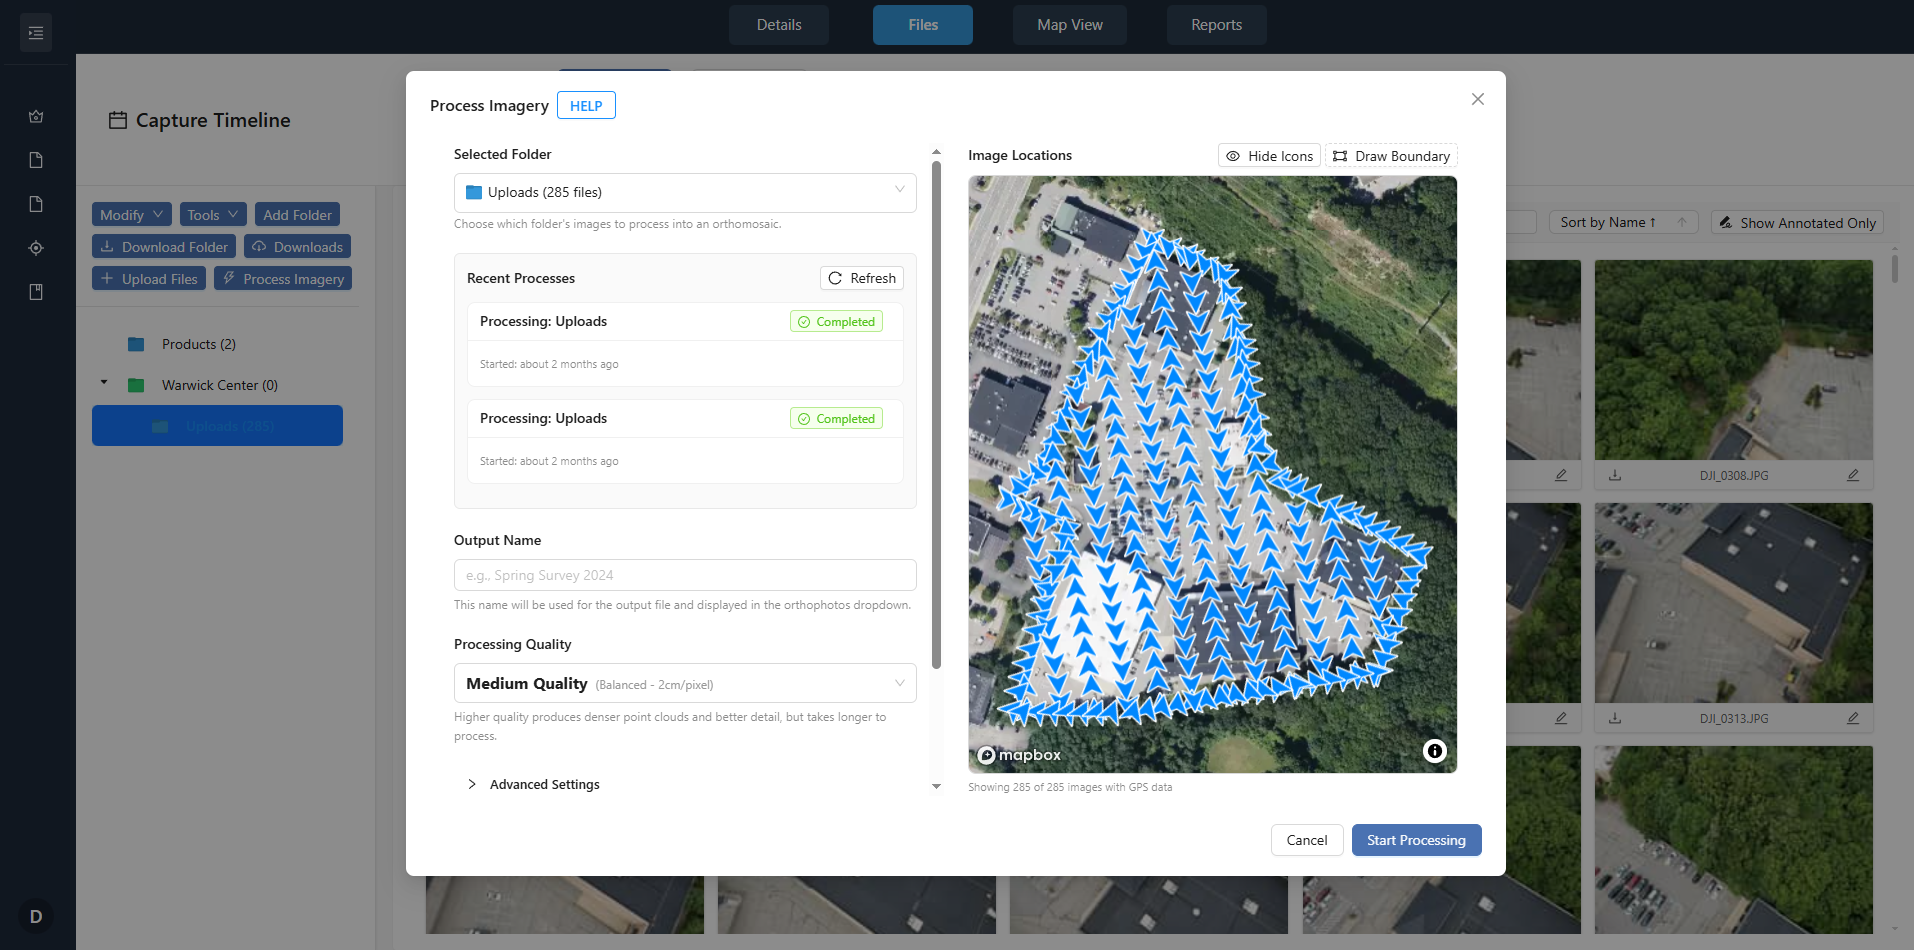
One of the advantages of using a modern processing platform is the ability to keep everything organised: importing, aligning, georeferencing, and exporting all happen in the same environment. This means you spend less time moving files between tools and more time looking at the results. For teams that handle multiple mapping projects, having a system that supports processing aerial imagery in one place reduces the risk of version confusion and lost metadata. It also makes it easier to revisit an old flight and regenerate the orthomosaic if the project requirements change.
As drone sensors improve and flight planning becomes more automated, the raw material you capture will get better. The same cannot always be said for the processing steps. Even with high-end cameras and perfect flight plans, the final orthomosaic is only as good as the alignment and georeferencing you give it. Taking the time to check each stage pays off in a product that you can trust for measurement and analysis. And when you have a platform that keeps all the processing aerial imagery in one place, that trust is easier to maintain across multiple projects and team members.